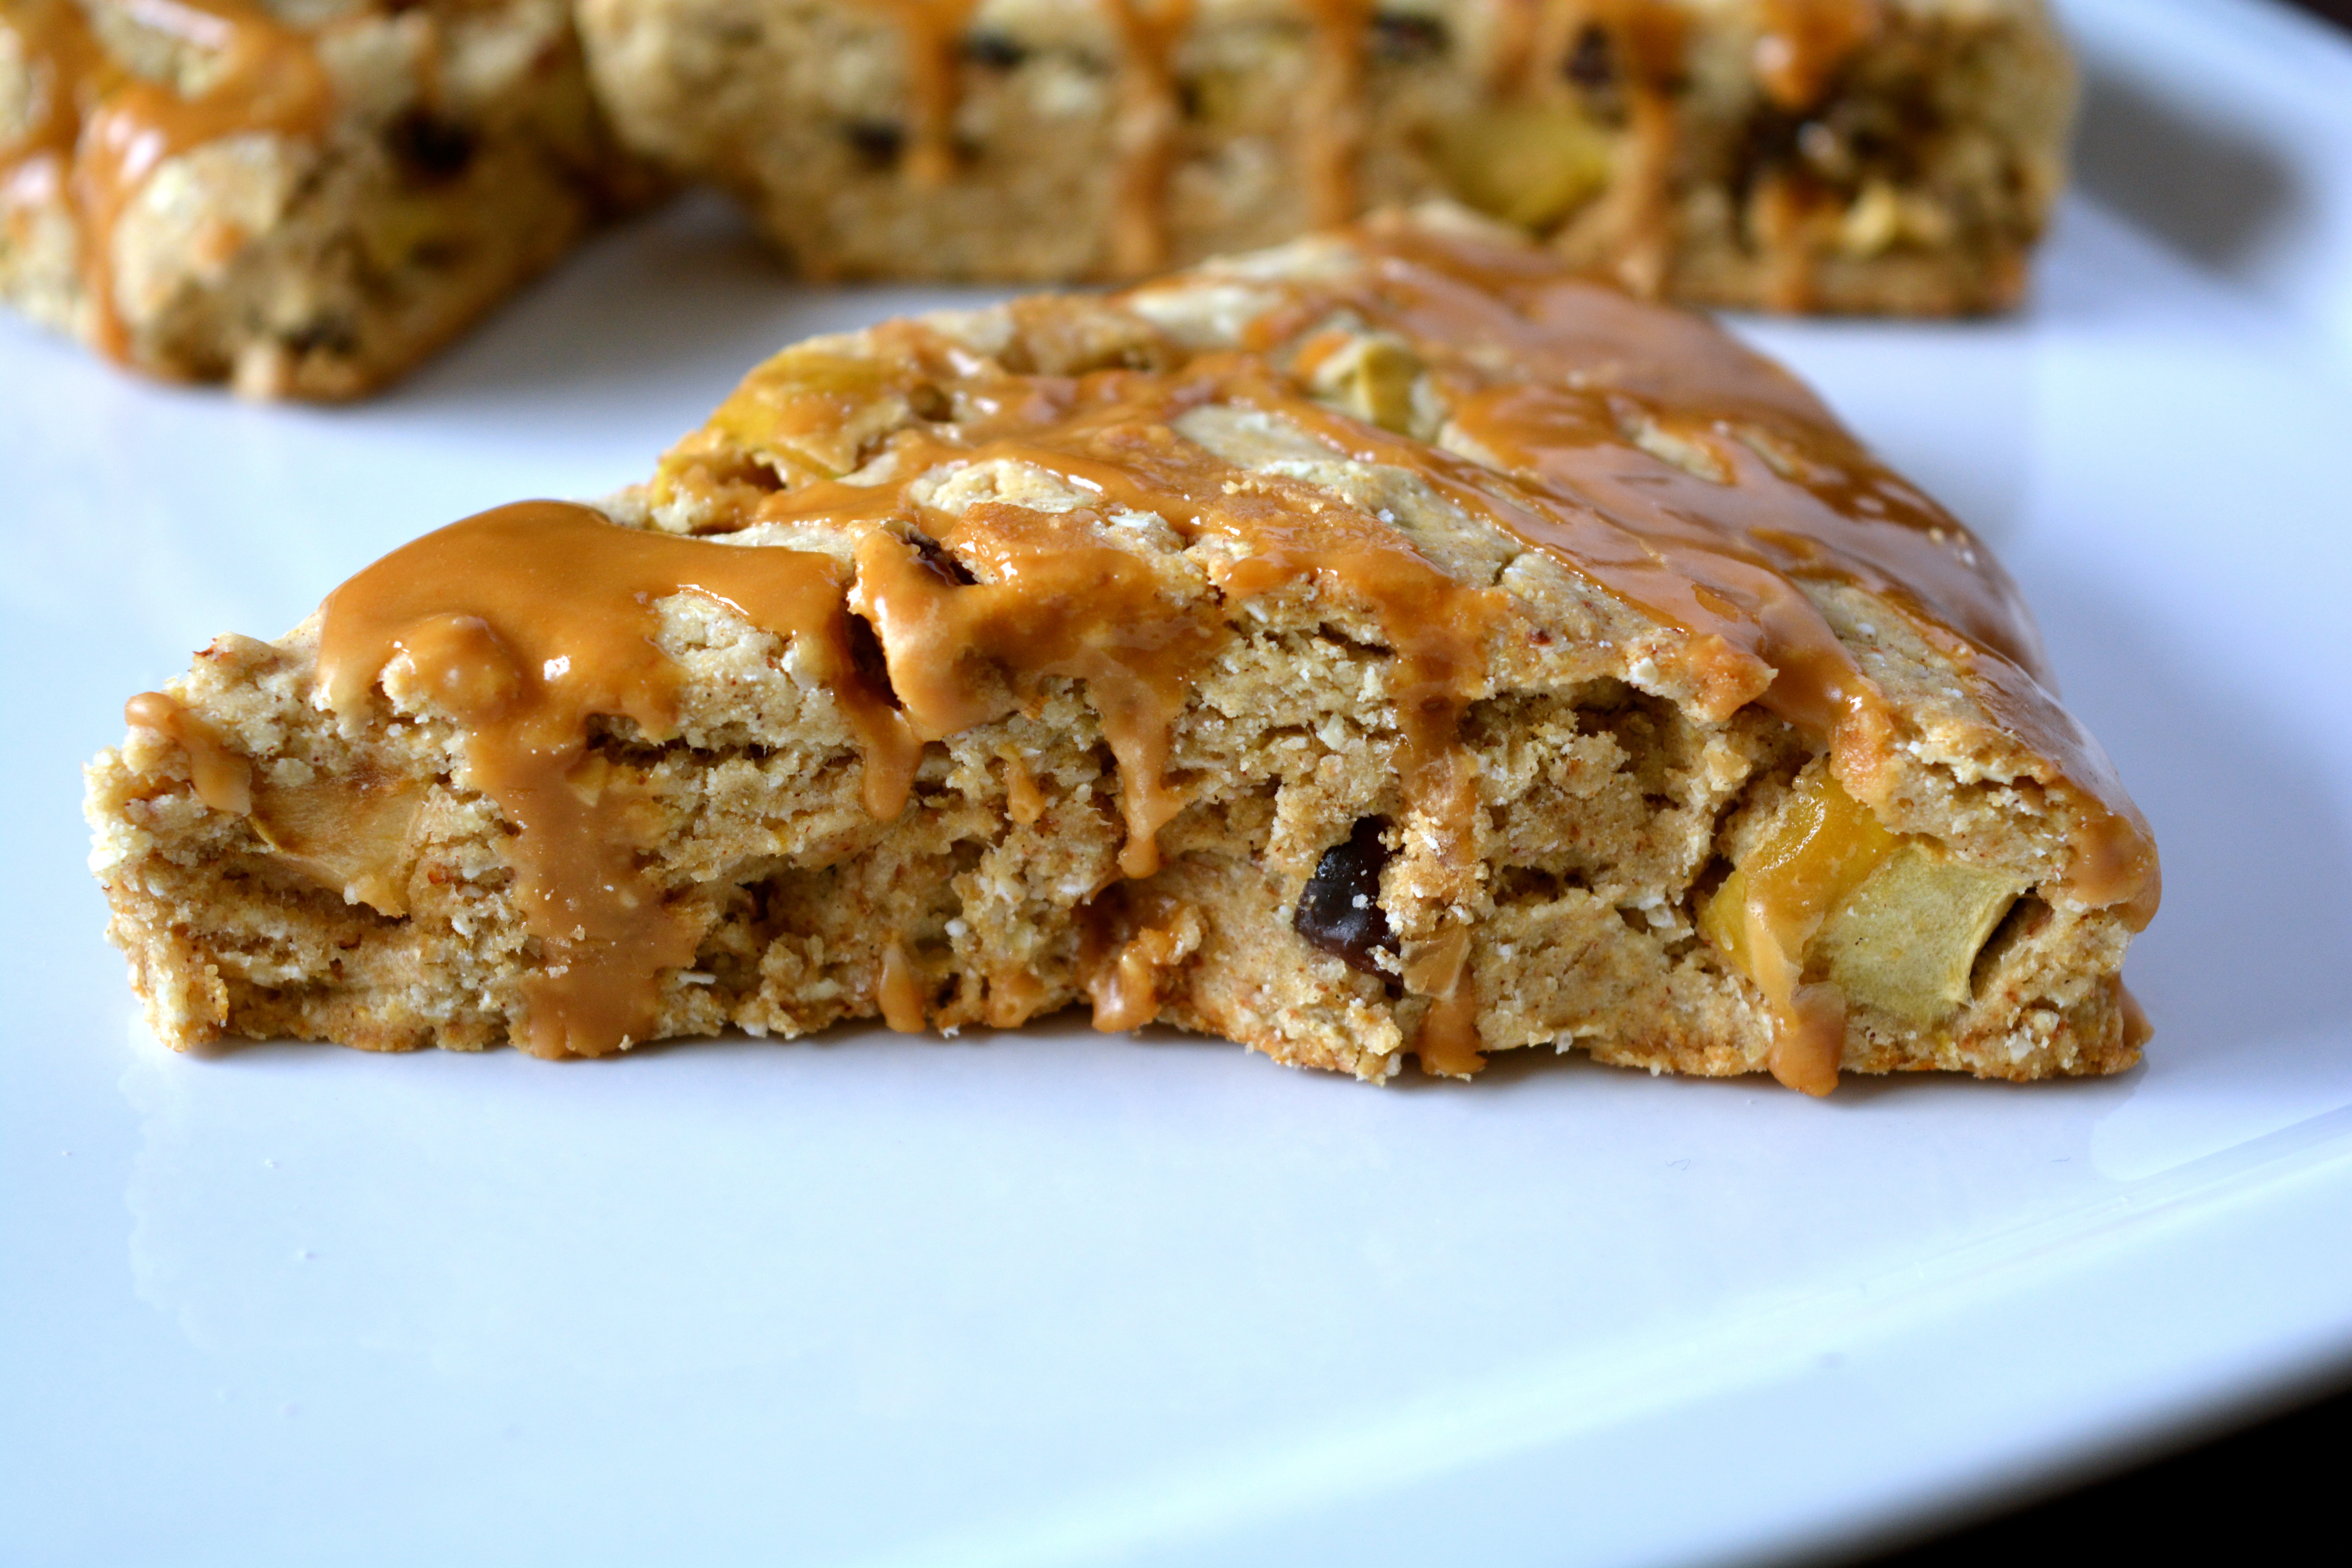
Chocolate pairs well with just about anything—especially more chocolate! These easy cookies freeze well, making them perfect for lunches and snacks when you’re on the run. This recipe, along with these Apple Raisin Scones, was developed for Cuisine Soleil, a Canadian-based gluten-free and certified organic flour company that produces over 12 flours and a variety of mixes. Once again, I’m highlighting their buckwheat flakes, a light flake similar to quick-cooking oats, with an earthy buckwheat taste and a lot of versatility.
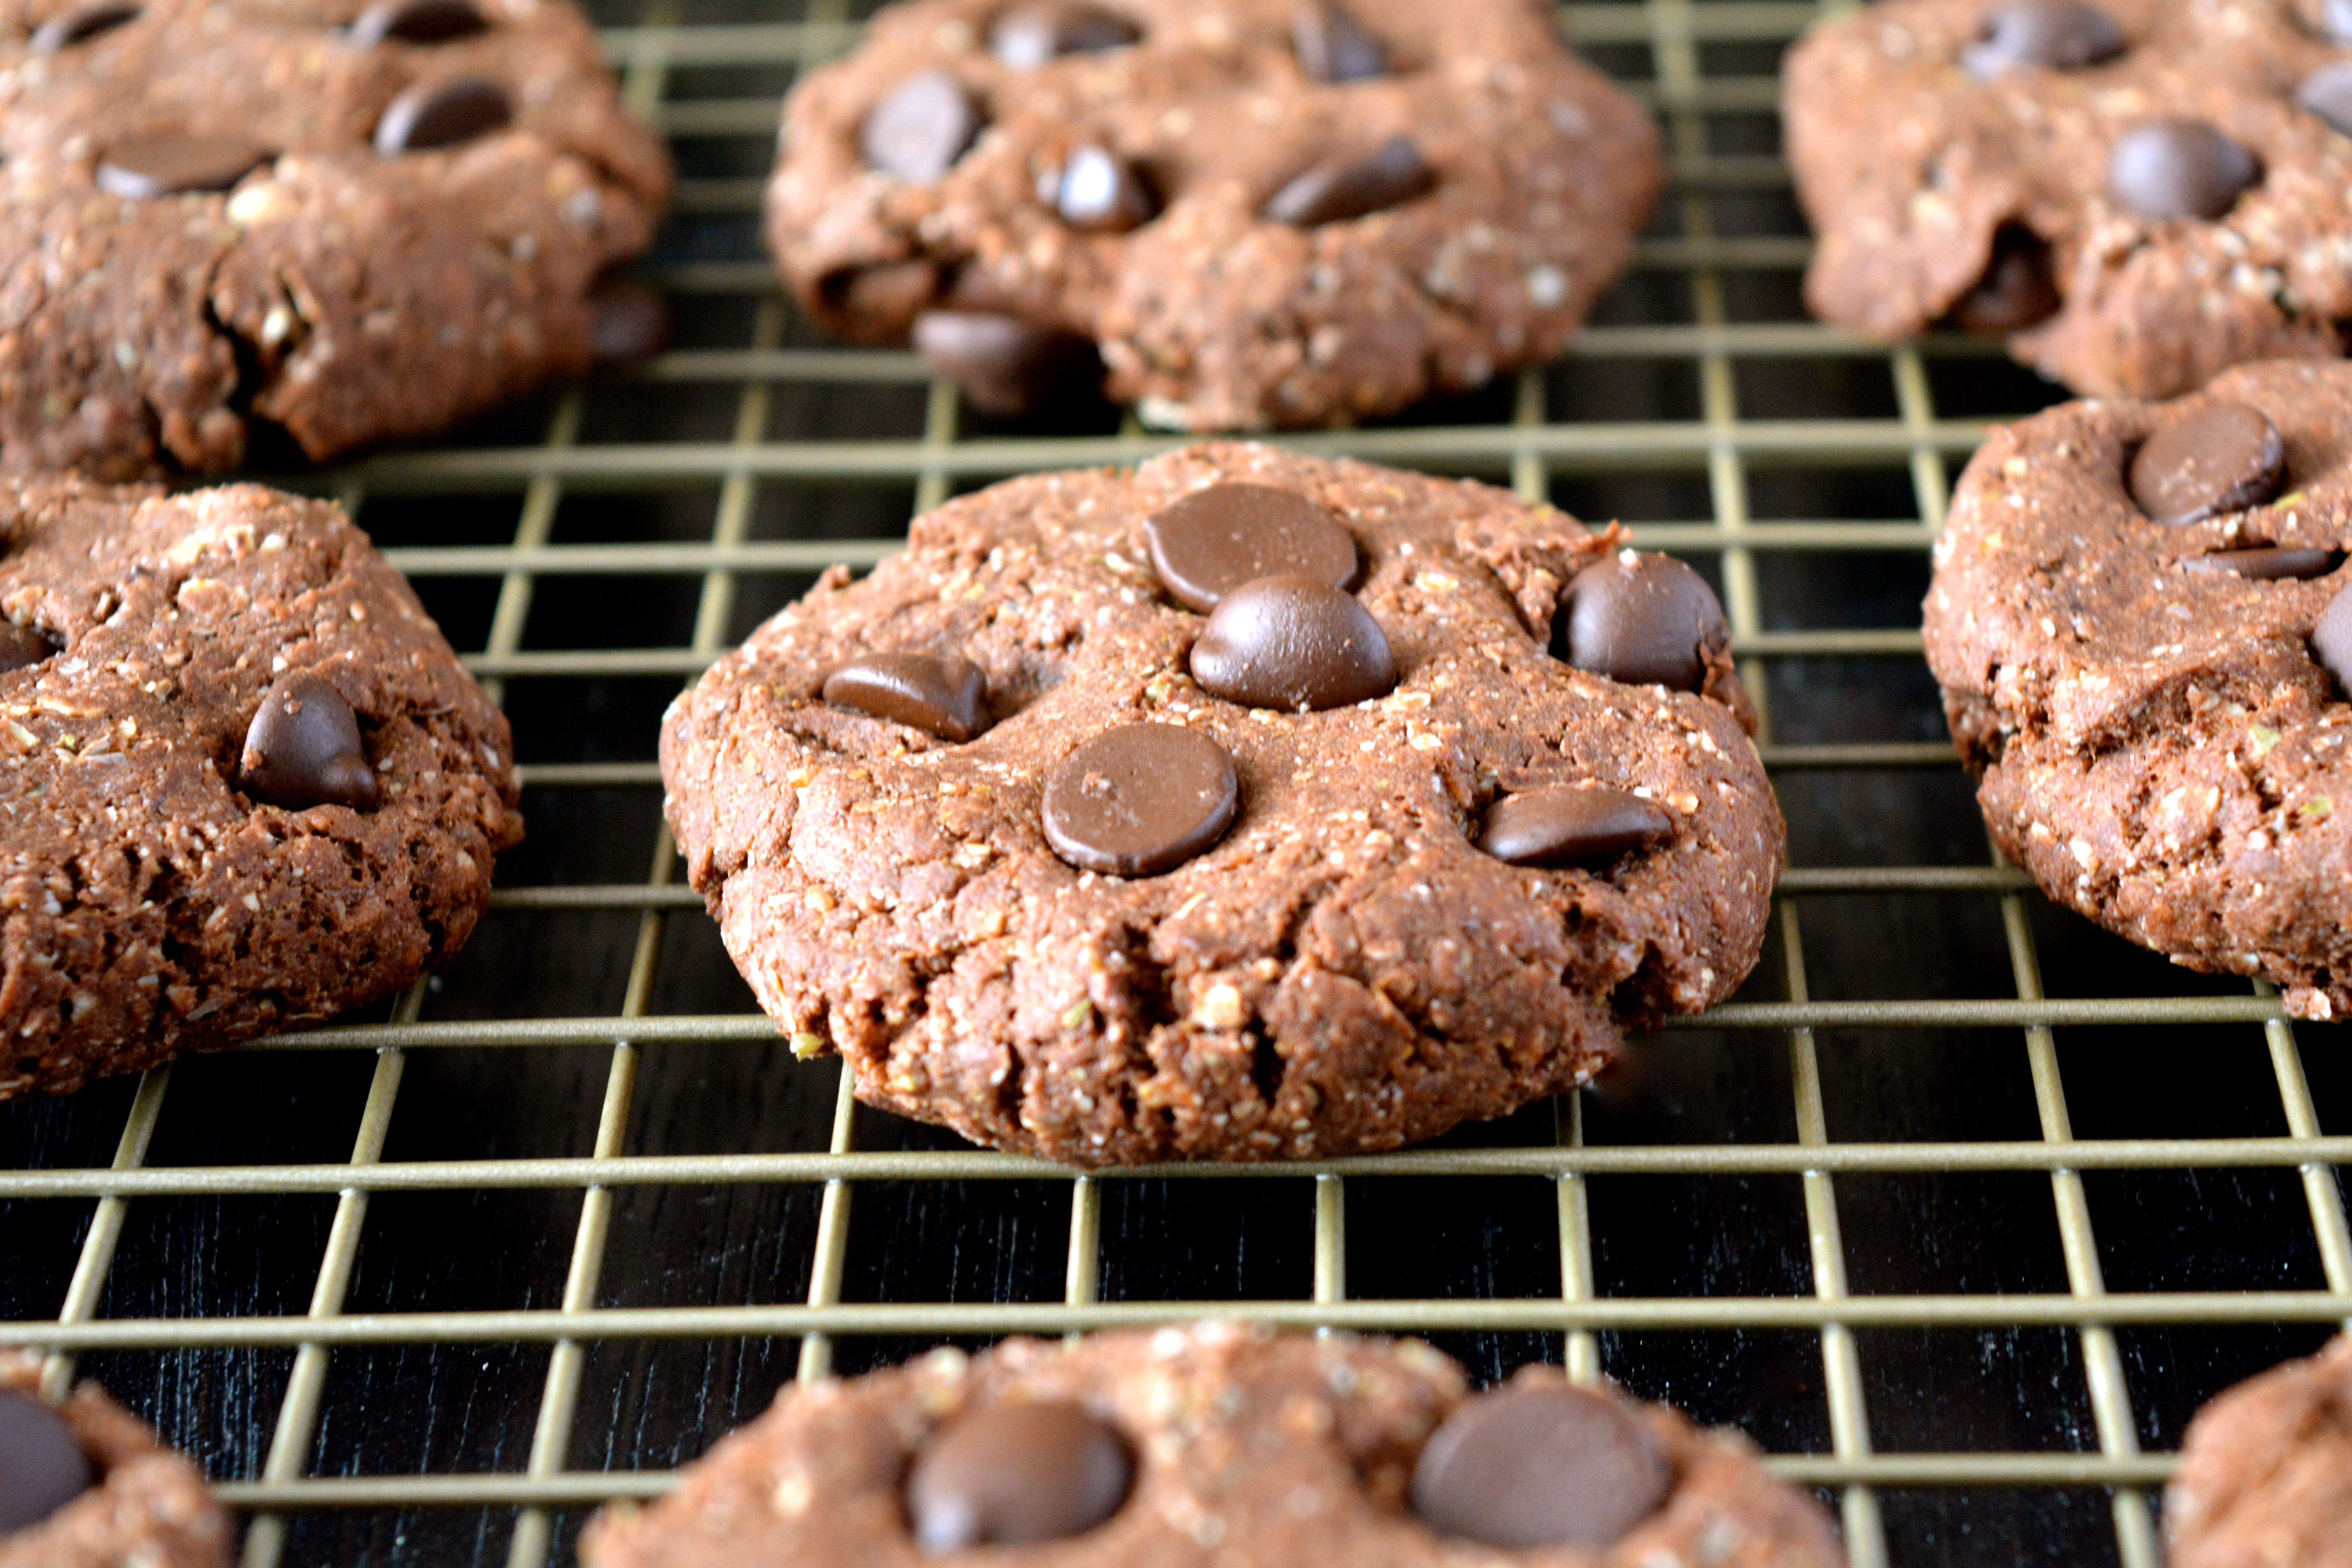
Double Chocolate Buckwheat Cookies
1 cup buckwheat flakes
2/3 cup sorghum flour
1/3 cup unsweetened cocoa powder
2 tablespoons tapioca starch
3/4 teaspoon xanthan gum
1/4 teaspoon baking soda
1/4 teaspoon baking powder
1/4 teaspoon fine sea salt
1/3 cup softened coconut oil (see Note)
2 tablespoons ground flaxseeds
1/2 cup granulated sugar
1/3 cup nondairy milk
1 teaspoon vanilla extract
1/3 cup nondairy dark chocolate morsels
Preheat the oven to 350 degrees F. Line a baking sheet with parchment paper.
Put the buckwheat flakes, sorghum flour, cocoa powder tapioca starch, xanthan gum, baking soda, baking powder, and salt in a medium bowl. Whisk well to combine.
Put the coconut oil and flaxseeds in a saucepan, cooking on medium heat until the coconut oil melts. Pour it into a large bowl or the bowl of a stand mixer. Add the sugar, nondairy milk, and vanilla extract. Using a hand mixer or the stand mixer, beat until well emulsified. Add the flour mixer, beating until mixed. Stir in the morsels.
Scoop about 2 tablespoons worth of the cookie dough into portions on the baking sheet. Use your hands to roll each one into a ball, then flatten to about 3/4-inch thick. Bake for 10 to 12 minutes, just until the tops start to firm. Cool on the baking sheets for about 5 minutes, then transfer to a cooling rack to cool completely.
Note: If you don’t want the taste of coconut from the coconut oil, look for organic varieties that aren’t virgin—they have the same nutritional content without the strong flavor.
(Disclosure statement: I received monetary compensation and free product from Cuisine Soleil from a recipe development partnership. I only, however, promote and partner with companies I love and use regularly in my own kitchen. As always, all opinions and recommendations expressed are completely my own.)